Tuesday, July 22, 2014

Graphic Print Shirt Tutorial

A while ago I did a tutorial on decorating baby onesies with fabric (HERE)  Well I have found another fun way to decorate shirts, of all sizes.  I thought I would share my easy secrets so you can have fun making your own as well! 

Things you will need:
Shirt 
Fabric paint  
Paint brush
Vellum paper
Craft spray glue
Printer
Exacto knife (or something else to cut out your design)
Cardboard piece or something to put in between your shirt so the paint doesn't bleed through

Seriously this is so easy you are going to wonder why you have never done it before!

Step1:  Figure out what you want your shirts to say {hardest part!} I choose iDad and iPood, obviously ;) Once you have your design or words you want to say, then print it out on your Vellum paper.  
*If you have never heard of picmonkey then your life isn't complete.  That is where I made my words because I couldn't get just the way I wanted it on just a normal word doc. {which will also work!} If you decided to use picmonkey just click design on the main page then resize the document (it's 612 X 792 Megapixels for a 8X11 page) then go ahead and design away, save it and print it! {this is the fun part!}
^^ for my husbands shirt obviously the words needed to be bigger since his shirt is bigger than a onesie, so I made it landscape and got it as big as I could without it going on another page.  I couldn't find the exact font I wanted but this was the closest I found, I just cut the "i" straight instead of the way it was printed,  sorry I don't remember the font I used.^^
 ^^ Jenson's shirt was a lot smaller but I wan't sure the exact size so I made a few sizes on one sheet and picked the one that looked best to cut out.^^
Step 2: Cut out your words with an exacto knife, make sure to save the inside of your letters because you will need them! 

 Step 3: {sorry I don't have pictures of this part but its really easy! } I put the cardboard in between the shirt and took it outside with my stencil and spray glue. {shake the glue really well} spray your words with the clue and stick it onto the shirt.  Don't get to much spray {where it's globby, spraying it a little farther away seemed to help me}.  I just held the corner of it with my hand, spraying with my other hand, but you can do whatever works for you.  Then stick it onto the shirt where you want it to go.  Next do the same thing with the insides of the letters.  {side note if you want to wear gloves it might be smart, because my hands got a little sticky, not bad but you are spraying glue after all...} Use your fingers and make sure the wording part is on your shirt really good so paint wont leak through later.  Don't worry the glue is going to come off and you wont even see it, if you didn't get any globs of paint on that is ;) but with a white shirt you can't even see it! 
Step 4:  Paint!  Use whatever colors you like with how every coats you want to do,  I think I did like 3. 

 Let it dry completely before pealing off the vellum paper!

 Step 5: Iron the words after completely dry, this is optional but I have heard it helps the words from not fading-so why not! {I put a paper towel between the shirt and iron, could also use a towel or something like that also.} 
Step 6: Wash them!  (You might also want to wash them before you start to make sure they don't shrink later.) I washed the shirts together but with nothing else in the washer.  I didn't want to risk the paint running or something and wrecking other clothes.  

And just like that you made your own personalized shirts!  Let me know how they turn out, or if you have any questions leave a comment and I'll try to answer them as fast as I can!  

A perfect shirt for a perfect little boy! :)

Side note:  I have never done this but it could be another option.  Get freezer paper {you can buy it in the section with tinfoil and stuff} trace your design on the freezer paper {I have no writing ability so I just prefer to print mine off but if you are crafty or don't have a printer this might be the better way!} Cut it out and iron it onto the shirt {no glue required} paint, dry, iron, wash, wear!- sounds pretty easy maybe I'll have to try it that way on another shirt- cause you can never have to many!  

If you want to try it this way this girl is pretty awesome and has a few tutorials (and a free printable on one of them!)  Good luck, happy crafting! 

Saturday, July 19, 2014

hashtag: tour our new town!

Remember when my sisters came to town and we went to Crown Center.  Well we had originally planned to eat at Fritz but when we saw how flippin long the line way {this is one happening joint!} we decided against it. I have wanted to go ever since.  This place is pretty much the bomb!  You call in on the phone on your table to place your food order.  When your food is done they send it to you by train- it's freaken sweet!  Check out the video at the bottom so you can see it better!


 ^^ I sure love this boy!  He is in that "awkward" stage where he is to small for the high chair but to big to be carried around in his carseat everywhere.  We have to get a little creative if we want to enjoy our meals without him grabbing everything.  Luckly he is pretty good at sitting up on his own now so he just sat sandwiched between us until we were mostly done, then he just sat on the table ;) ^^

A short video for your viewing pleasure! :) It also shows how the trains bring our food! 

Monday, July 7, 2014

4th of July

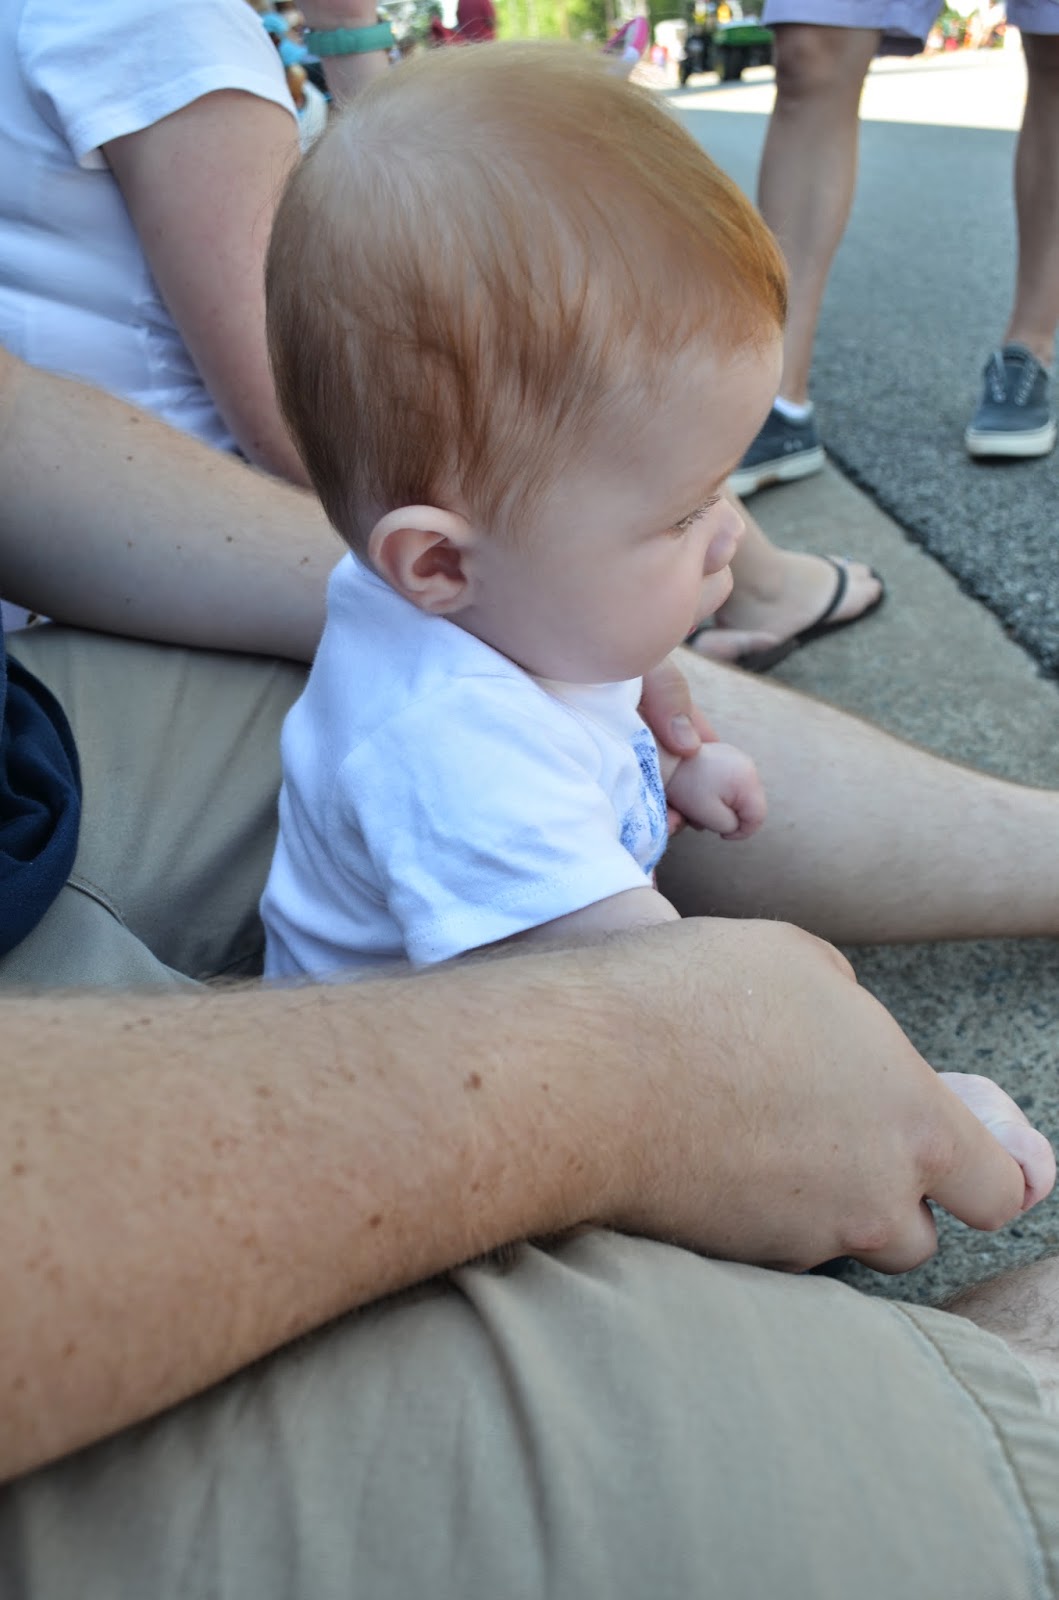
 Holidays away from home are always a little harder but this year we decided not to dwell on that and start making out own family traditions.  We started out our day at the Lenexa parade, we were by a big building so had shade the whole time-bonus!  The parade was not so steller (nothing like the Kaysville parade in Utah.) It was mostly a parade full of government companies   and "vote for so and so" and lots of old fashion and new cars, oh and you can't forget the mid evil times people walking around yelling strange things (also mostly dressed in things some people should never be aloud to wear in public, let alone when you are by yourself!)

I love holidays, but having a kid now to celebrate with is 1,000 times better!  
 Jenson loved the parade (for the first 5 minutes) until he fell asleep.  I have never had to worry about how noisy parades are until then.  I didn't know he was afraid of loud sounds until earlier when we were waiting for the parade to start and a train came by whistling it's horn while Jenson was asleep. He started screaming/crying instantly, saddest thing ever!  He did pretty well though, waking up to see the last 5 minutes or so!
Shout out to my amazing sisters who made this head wrap for me so we could all wear them and be like we were sort of together even though we were all miles apart!  
 I loved how most everyone that had things to sale were driving around in different types of golf carts/ rovers instead of walking around around with coolers in their wagons like I was used to.

 He is getting so big and loves sitting up and standing up!

 ^^ He seriously adores his daddy- he must get that from me! I attempted making his shirt, it wasn't as cute as I had imagined but then again getting a 5 month old to get a perfect hand print is asking a little to much!  I' m thinking about making this a tradition and having him make one every year, how fun would it be to look back and see his hand print from the years before? Toooo cute I'll tell ya! ^^

 ^^ these were the only 2 horses, and they didn't even need a pooper scooper!^^
 ^^ Sleeping through the whole things, sheesh! The weather was AMAZING though.  All week it had been super hot with high humidity but on the 4th it was breezy, cool, and hardly humid! God Bless America!^^


 ^^Jenson slept, so Hailey stole the show away (how could she not!?) it was so fun watching her wave and blow kisses to everyone.  Next year Jenson will enjoy it a little more, and maybe we can get more candy then this year! {note to self sit at the start of the parade route!}^^
 ^^ This guy made me laugh.  I'm curious to know what they were thinking... "hey lets be in the parade this year, we can just open our doors and wave!" ^^
 After the parade we went to IHOP {possibly a new family tradition!} We let Jenson try to drink some water from a straw {epic fail} haha and enjoyed some good ole friends and food! After IHOP we went home to put Jenson down for a real nap and to start making food for the little BBQ we hosted with a few friends from our ward.  We also got to facetime our new ADORABLE niece Aubrey- I am so in love already I can't wait to meet her in person! {congrats Sam and Vanessa!!} 

We had our little BBQ with way to much food, played the game Disney Headbands {who says that is just for kids?!}, laughed way to hard, and enjoyed our evening together!  

Overland Park is lame and you are not aloud to light any fireworks {like anything you have to "light" is illegal- yeah LAME!} not like we have money to buy a bunch anyway but I really wanted to get some sparklers and try out some settings on my camera.  Well since that didn't happen I remembered I had a ton of glow sticks that were needing to be used so we cracked them all and had fun pretending they were sparklers.  
 Our friends showed us an awesome place to watch the fireworks, right on a golf course!  It was a perfect view and had lots of fire flies around-so cool! Jenson fell asleep at the beginning {he is missing out on all the fun stuff!} slept for a bit and then woke up.  He watched the fireworks for a few minutes then started to get annoyed that they were keeping him from sleeping so he rolled back over and went to sleep, slept till the next morning around 5:00 :)  
 The firework show defiantly made up for the lame parade.  My favorite ones were the ones that spelled out "USA", smilie faces, and the hearts!  
Sorry these are out of order, just a few more pictures for your viewing pleasure!
Rocking the festive shades Grandma Craven gave him! :)


^^Baby selfies!^^
^^ I sure love this boy, I am thankful for him everyday!^^

Wednesday, July 2, 2014

4th of July Crafts!

It's no secret that I LOVE the 4th of July, it might even be one of my favorite holidays! Parades, fireworks, food, fairs, people watching, and family- what could be better?  Since Babe has been out of school these last few days I took advantage of him watching Jenson and started lots of holiday crafts! 

 First I started my paint chip banner- I got a ton of red, white, and blue paint chips in different shades of each and cut them out into star shapes and hung them around my house. So easy, and not to mention FREE!  Now that's my kind of craft! 

Next I made some wreaths, both out of felt.  The mini wreath I just cut out the middle of a paper plate, cut up strips of felt and tide them around the plate. Once again as simple as that!  
 The next wreath was a bit more time consuming-thank goodness Babe was home to take Jenson ;) After cutting up tons of squares of felt (about 5-6 sheets of felt for each color) I wrapped them up in the cone shape and glued them on a wreath. Super easy just takes time.  The stars I thought I ran out of white felt so I used card stock but felt would work just the same!  
Last but not least {I still have a few more things I want to do!}  my centerpiece!  I had this jar sitting in my laundry room for a few months now not knowing what to do with it.  I decided this was a perfect time to fill it up.  I just got white dried beans and red and blue spray paint.  Sprayed the beans {du...} and placed them in the jar with a candle I had laying around the house. The spray painting took a while but that was the hardest part. 
 I didn't love the red table cloth so I switched it to a white one I had, I also just put around some random left over star paint chips I had.  Ta Da! Now my houses is all patriotic and I am loving it! Now we just need Friday to come!  Happy 4th Everyone!